Roasted Garlic Parsley Aioli
Highlighted under: Cozy Home-Cooked Recipes
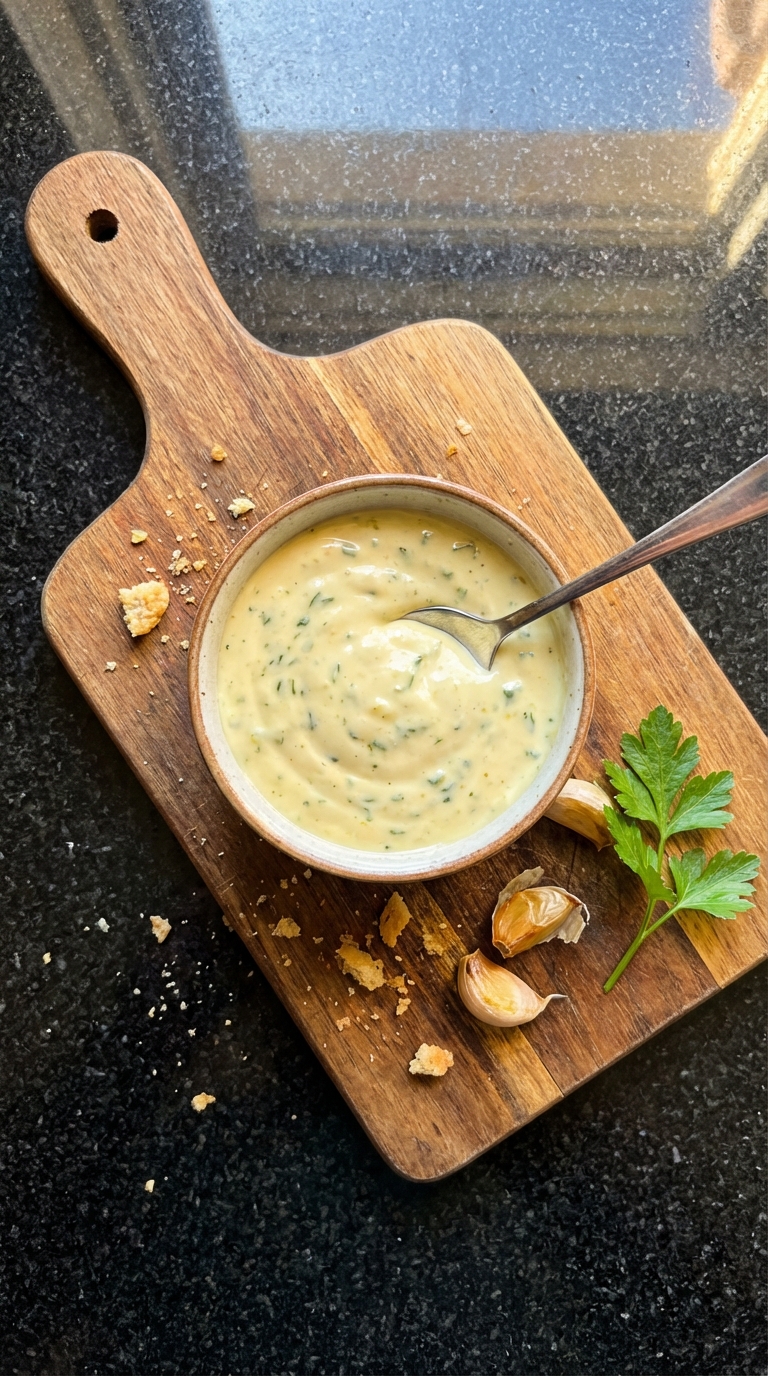
I love making Roasted Garlic Parsley Aioli because it elevates any dish with its rich and creamy flavor. The combination of roasted garlic and fresh parsley creates a delightful dip that's perfect for veggies, fries, or even as a spread on sandwiches. It’s easy to prepare and always impresses guests. The warmth of the roasted garlic brings a subtle sweetness that pairs beautifully with the herbaceous notes of parsley. Whether I’m hosting a gathering or just enjoying a casual dinner, this aioli never fails to enhance my meals.
When I first tried making aioli, the thought intimidated me, but I quickly realized how simple it is to craft at home. Roasting the garlic not only mellows its sharpness but also brings forward a buttery depth that blends seamlessly into the creamy base. I've found that letting the aioli chill in the fridge for at least an hour allows the flavors to meld beautifully, intensifying the overall taste.
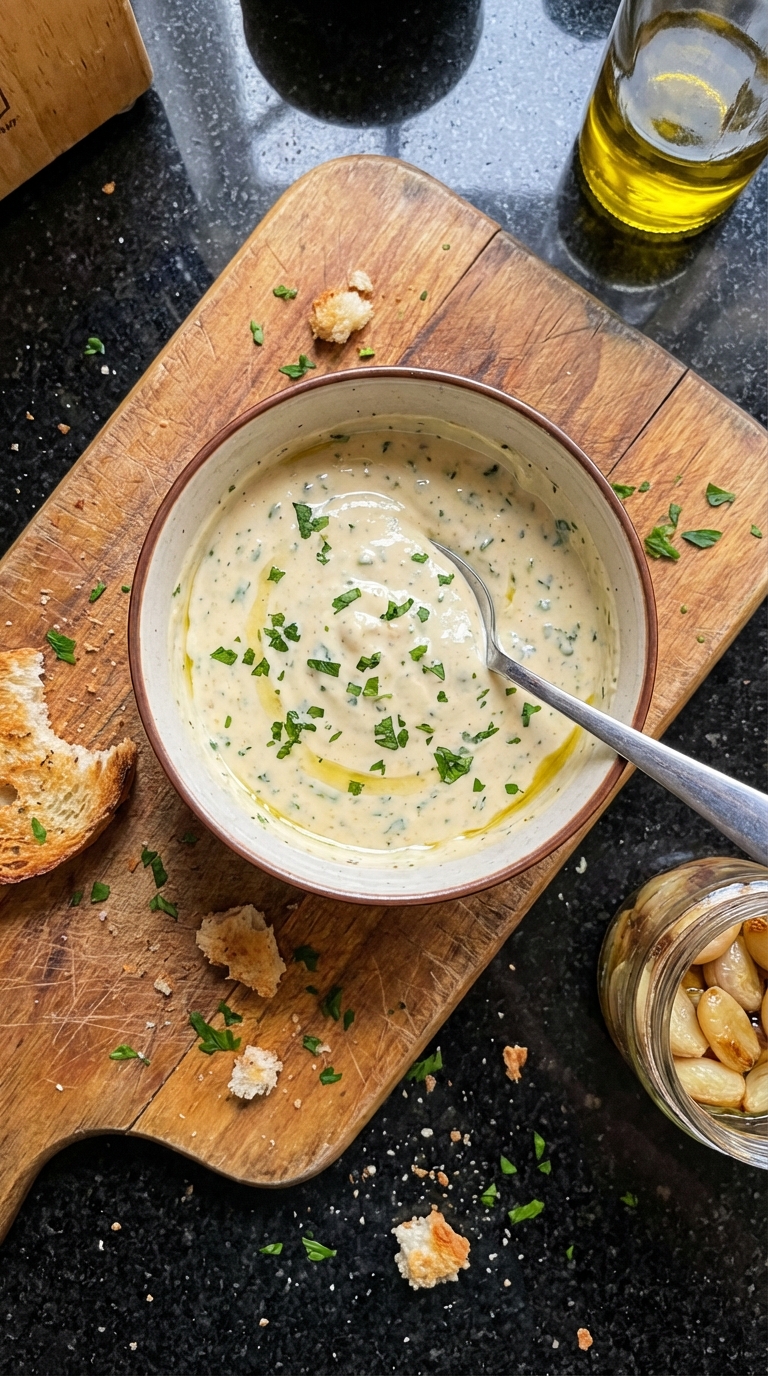
This aioli is incredibly versatile. I often drizzle it over grilled vegetables, use it as a delightful accompaniment for seafood, or simply enjoy it with warm, crusty bread. It never disappoints and always garners compliments!
Why You'll Love This Recipe
- Rich, creamy texture with a delightful garlic flavor
- Fresh parsley adds a vibrant touch and brightness
- Perfect for parties, barbecues, or just a simple meal enhancement
The Role of Roasted Garlic
Roasting garlic transforms its pungent raw flavor into a mellow, sweet richness that’s essential for this aioli. This process caramelizes the natural sugars in the garlic, resulting in a depth of flavor that blends seamlessly with the creamy mayonnaise. When handled properly, the roasted garlic will have a soft, buttery texture that enhances the overall mouthfeel of the aioli. Be sure to check for doneness: the garlic should feel tender when pressed and have a slightly golden hue.
For optimal roasting, consider using a small baking dish instead of wrapping the garlic in foil. This method allows the garlic to roast evenly, and the dish can be reused for mixing the aioli later, cutting down on cleanup. If you find yourself with excess roasted garlic, it can be stored in olive oil in the refrigerator for several weeks, making it a handy flavor booster for future dishes.
Perfecting Your Aioli Texture
The key to achieving that luxurious, creamy texture in aioli is in the mixing process. When combining the ingredients, use a whisk or a hand mixer for a glossy finish. If you prefer a thicker consistency, add extra mayonnaise slowly, whisking until you reach the desired texture. This aioli can be easily adjusted based on how thick or thin you’d like it, but keep in mind that it should still hold its shape when dolloped onto a plate.
If you find that your aioli is too thick after chilling, simply whisk in a teaspoon of cold water or additional lemon juice to lighten it up. Be cautious with adjustments though; a little goes a long way when it comes to maintaining flavor balance. Additionally, remember that chilling the aioli not only improves the flavors but also thickens it slightly, so don’t skip this step!
Serving Suggestions and Variations
This Roasted Garlic Parsley Aioli is incredibly versatile and pairs wonderfully with a variety of dishes. It’s excellent alongside fresh vegetables for dipping, as a topping for grilled meats, or slathered on sandwiches and burgers for an elevated flavor experience. For a fun twist, try using it as a base for a pasta salad or drizzling it over roasted vegetables for an added creamy finish.
If you're looking to spice things up, consider incorporating other ingredients such as a pinch of smoked paprika for warmth or a dash of hot sauce for heat. You could also experiment with different herbs, like dill or cilantro, to give the aioli a unique spin. For a vegan option, substitute the mayonnaise with a chickpea-based or avocado-based alternative, allowing everyone at your table to enjoy this delightful dip.
Ingredients
Gather these ingredients to create your aioli:
Ingredients
- 1 head of garlic
- 1 cup mayonnaise
- 2 tablespoons fresh parsley, chopped
- 1 tablespoon lemon juice
- Salt and pepper to taste
Make sure to use fresh ingredients for the best taste!
Instructions
Follow these simple steps to prepare your aioli:
Roast the Garlic
Preheat your oven to 400°F (200°C). Cut the top off the head of garlic, drizzle with olive oil, and wrap it in foil. Roast for 30 minutes or until soft.
Prepare the Aioli Base
In a bowl, combine the mayonnaise, chopped parsley, lemon juice, and a pinch of salt and pepper.
Mix in the Garlic
Once the garlic is cool, squeeze the cloves out of their skins and mash them before adding them to the mayonnaise mixture. Stir well to combine.
Adjust Seasoning
Taste your aioli and adjust the seasoning with more salt, pepper, or lemon juice if needed.
Chill and Serve
Cover the aioli and let it chill in the fridge for at least 1 hour before serving to allow the flavors to develop.
Enjoy your homemade aioli as a dip, spread, or dressing!
Pro Tips
- For a twist, try adding a teaspoon of Dijon mustard for an extra kick!
Make-Ahead Tips
One of the best features of this aioli is its ability to be made ahead of time. You can prepare it up to two days in advance; just store it in an airtight container in the fridge to preserve its freshness. The flavors will continue to develop as it sits, making it an even more appealing condiment when you're ready to serve. If you're prepping for a gathering, this aspect can significantly streamline your cooking process.
When you're ready to serve the aioli after chilling, give it a good stir to recombine, especially if the ingredients have settled. It’s crucial to taste again before serving since the flavors might have intensified during storage, leading you to adjust the seasoning if needed. This flexibility makes it an excellent choice for parties or weeknight meals alike.
Storage and Freezing
For optimal freshness, store any leftover aioli in a tightly sealed container and consume it within a week. Always use a clean utensil to scoop out the aioli to avoid contamination. If you find yourself with a large batch, though, freezing is an option. Just note that the texture might change slightly upon thawing, but the flavors will remain intact. To freeze, portion the aioli into ice cube trays, cover with plastic wrap, and once frozen, transfer the cubes to a zip-top bag for long-term storage.
When you’re ready to enjoy the frozen aioli, simply thaw it in the fridge overnight or place it in a bowl of warm water for a quicker option. Re-stir the aioli after thawing to help revive its smooth texture, especially if separation occurs. Having this handy condiment readily available means you can add a gourmet touch to any meal with minimal effort.
Questions About Recipes
→ Can I use raw garlic instead of roasted?
Yes, but raw garlic will have a much stronger flavor. You may want to use less.
→ How long does aioli last in the fridge?
It typically lasts about 3-4 days in an airtight container in the refrigerator.
→ Can I make this aioli vegan?
Absolutely! Substitute the mayonnaise with a vegan alternative.
→ What can I serve aioli with?
It’s great with fries, grilled vegetables, seafood, or as a sandwich spread.
Roasted Garlic Parsley Aioli
Created by: The Thacozyspoon Team
Recipe Type: Cozy Home-Cooked Recipes
Skill Level: Beginner
Final Quantity: 1 cup
What You'll Need
Ingredients
- 1 head of garlic
- 1 cup mayonnaise
- 2 tablespoons fresh parsley, chopped
- 1 tablespoon lemon juice
- Salt and pepper to taste
How-To Steps
Preheat your oven to 400°F (200°C). Cut the top off the head of garlic, drizzle with olive oil, and wrap it in foil. Roast for 30 minutes or until soft.
In a bowl, combine the mayonnaise, chopped parsley, lemon juice, and a pinch of salt and pepper.
Once the garlic is cool, squeeze the cloves out of their skins and mash them before adding them to the mayonnaise mixture. Stir well to combine.
Taste your aioli and adjust the seasoning with more salt, pepper, or lemon juice if needed.
Cover the aioli and let it chill in the fridge for at least 1 hour before serving to allow the flavors to develop.
Extra Tips
- For a twist, try adding a teaspoon of Dijon mustard for an extra kick!
Nutritional Breakdown (Per Serving)
- Calories: 180 kcal
- Total Fat: 18g
- Saturated Fat: 3g
- Cholesterol: 10mg
- Sodium: 250mg
- Total Carbohydrates: 2g
- Dietary Fiber: 0g
- Sugars: 1g
- Protein: 1g